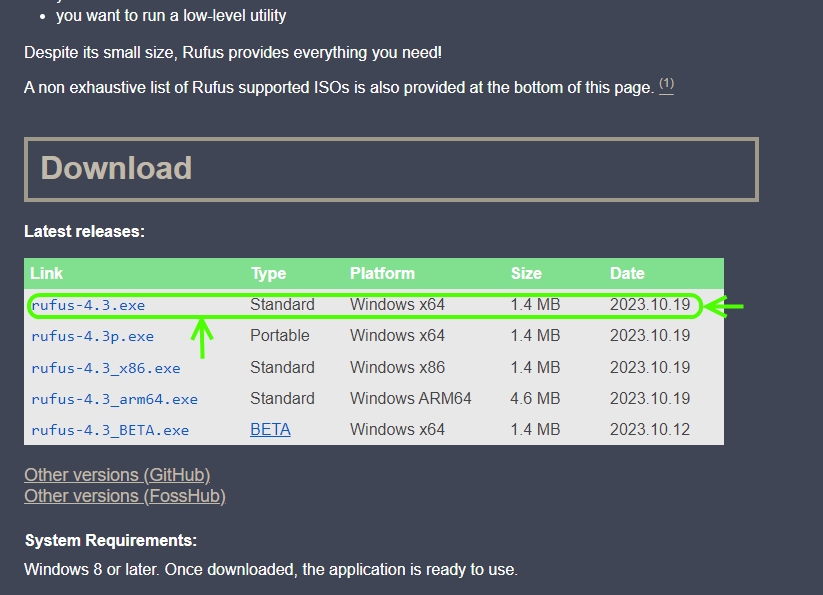
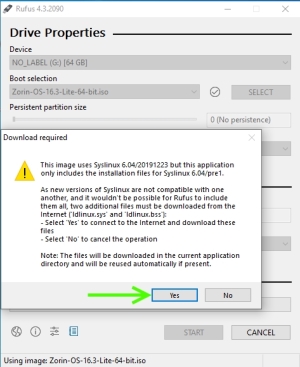
Figure
4: Rufus download page and program link
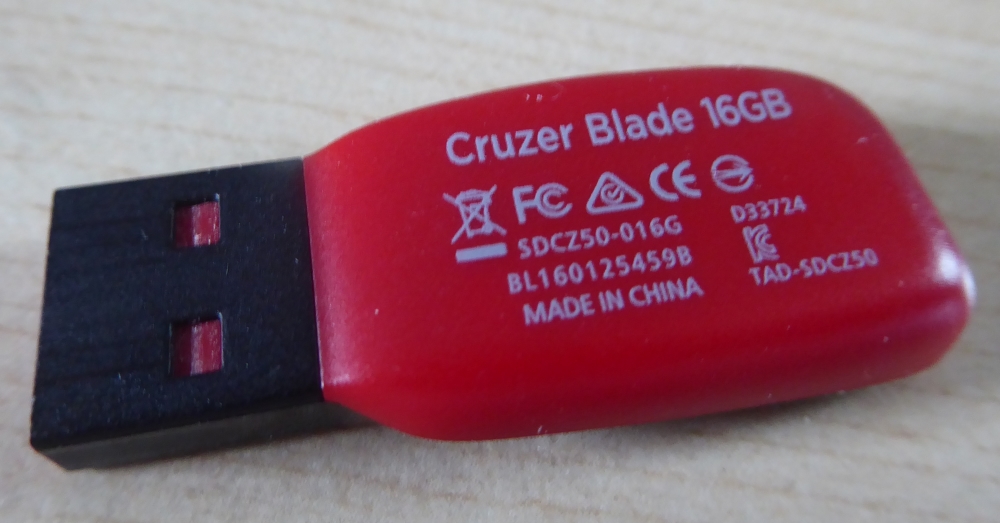
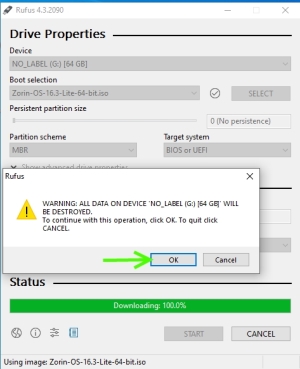
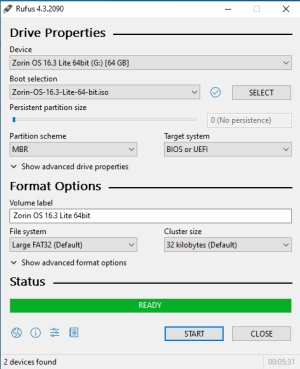
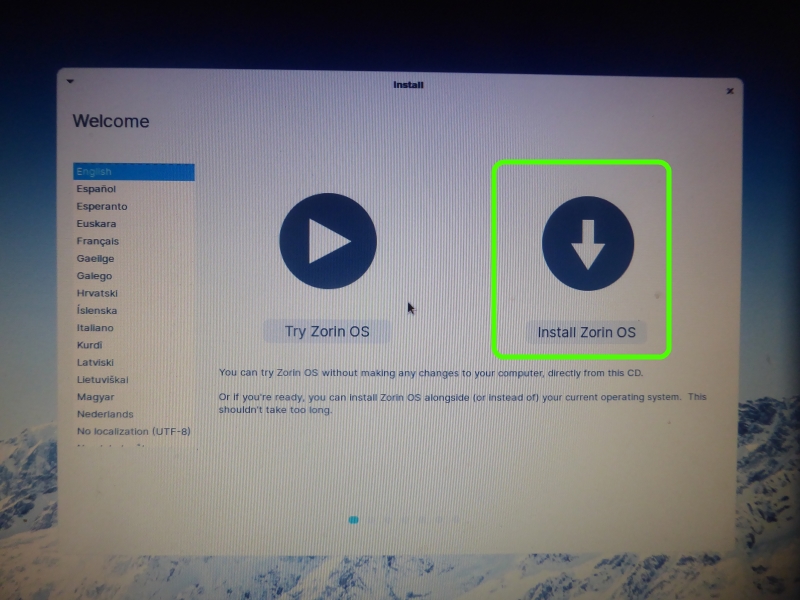
Step 5: After
you download and open Rufus you will be presented with a popup screen
as shown in Figure 5. There are 2 important pieces of information
you must provide to Rufus. The first is to select the USB device you
will be writing to. In this example I have chosen the 16GB "G:" drive.
Make sure you select the correct drive! The second piece of
information is the filename for the ISO image. Let's cover that topic
in Step 6.
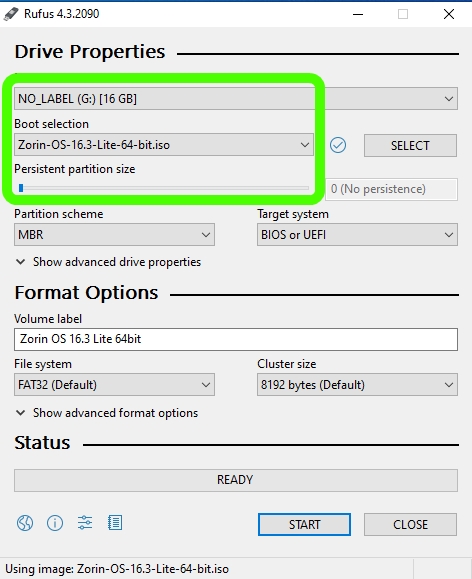
Figure 5:
Splash Screen for Rufus